代码全部来自菩提老开
1.Mac ssh连服务器
https://startup.aliyun.com/info/1077773.html
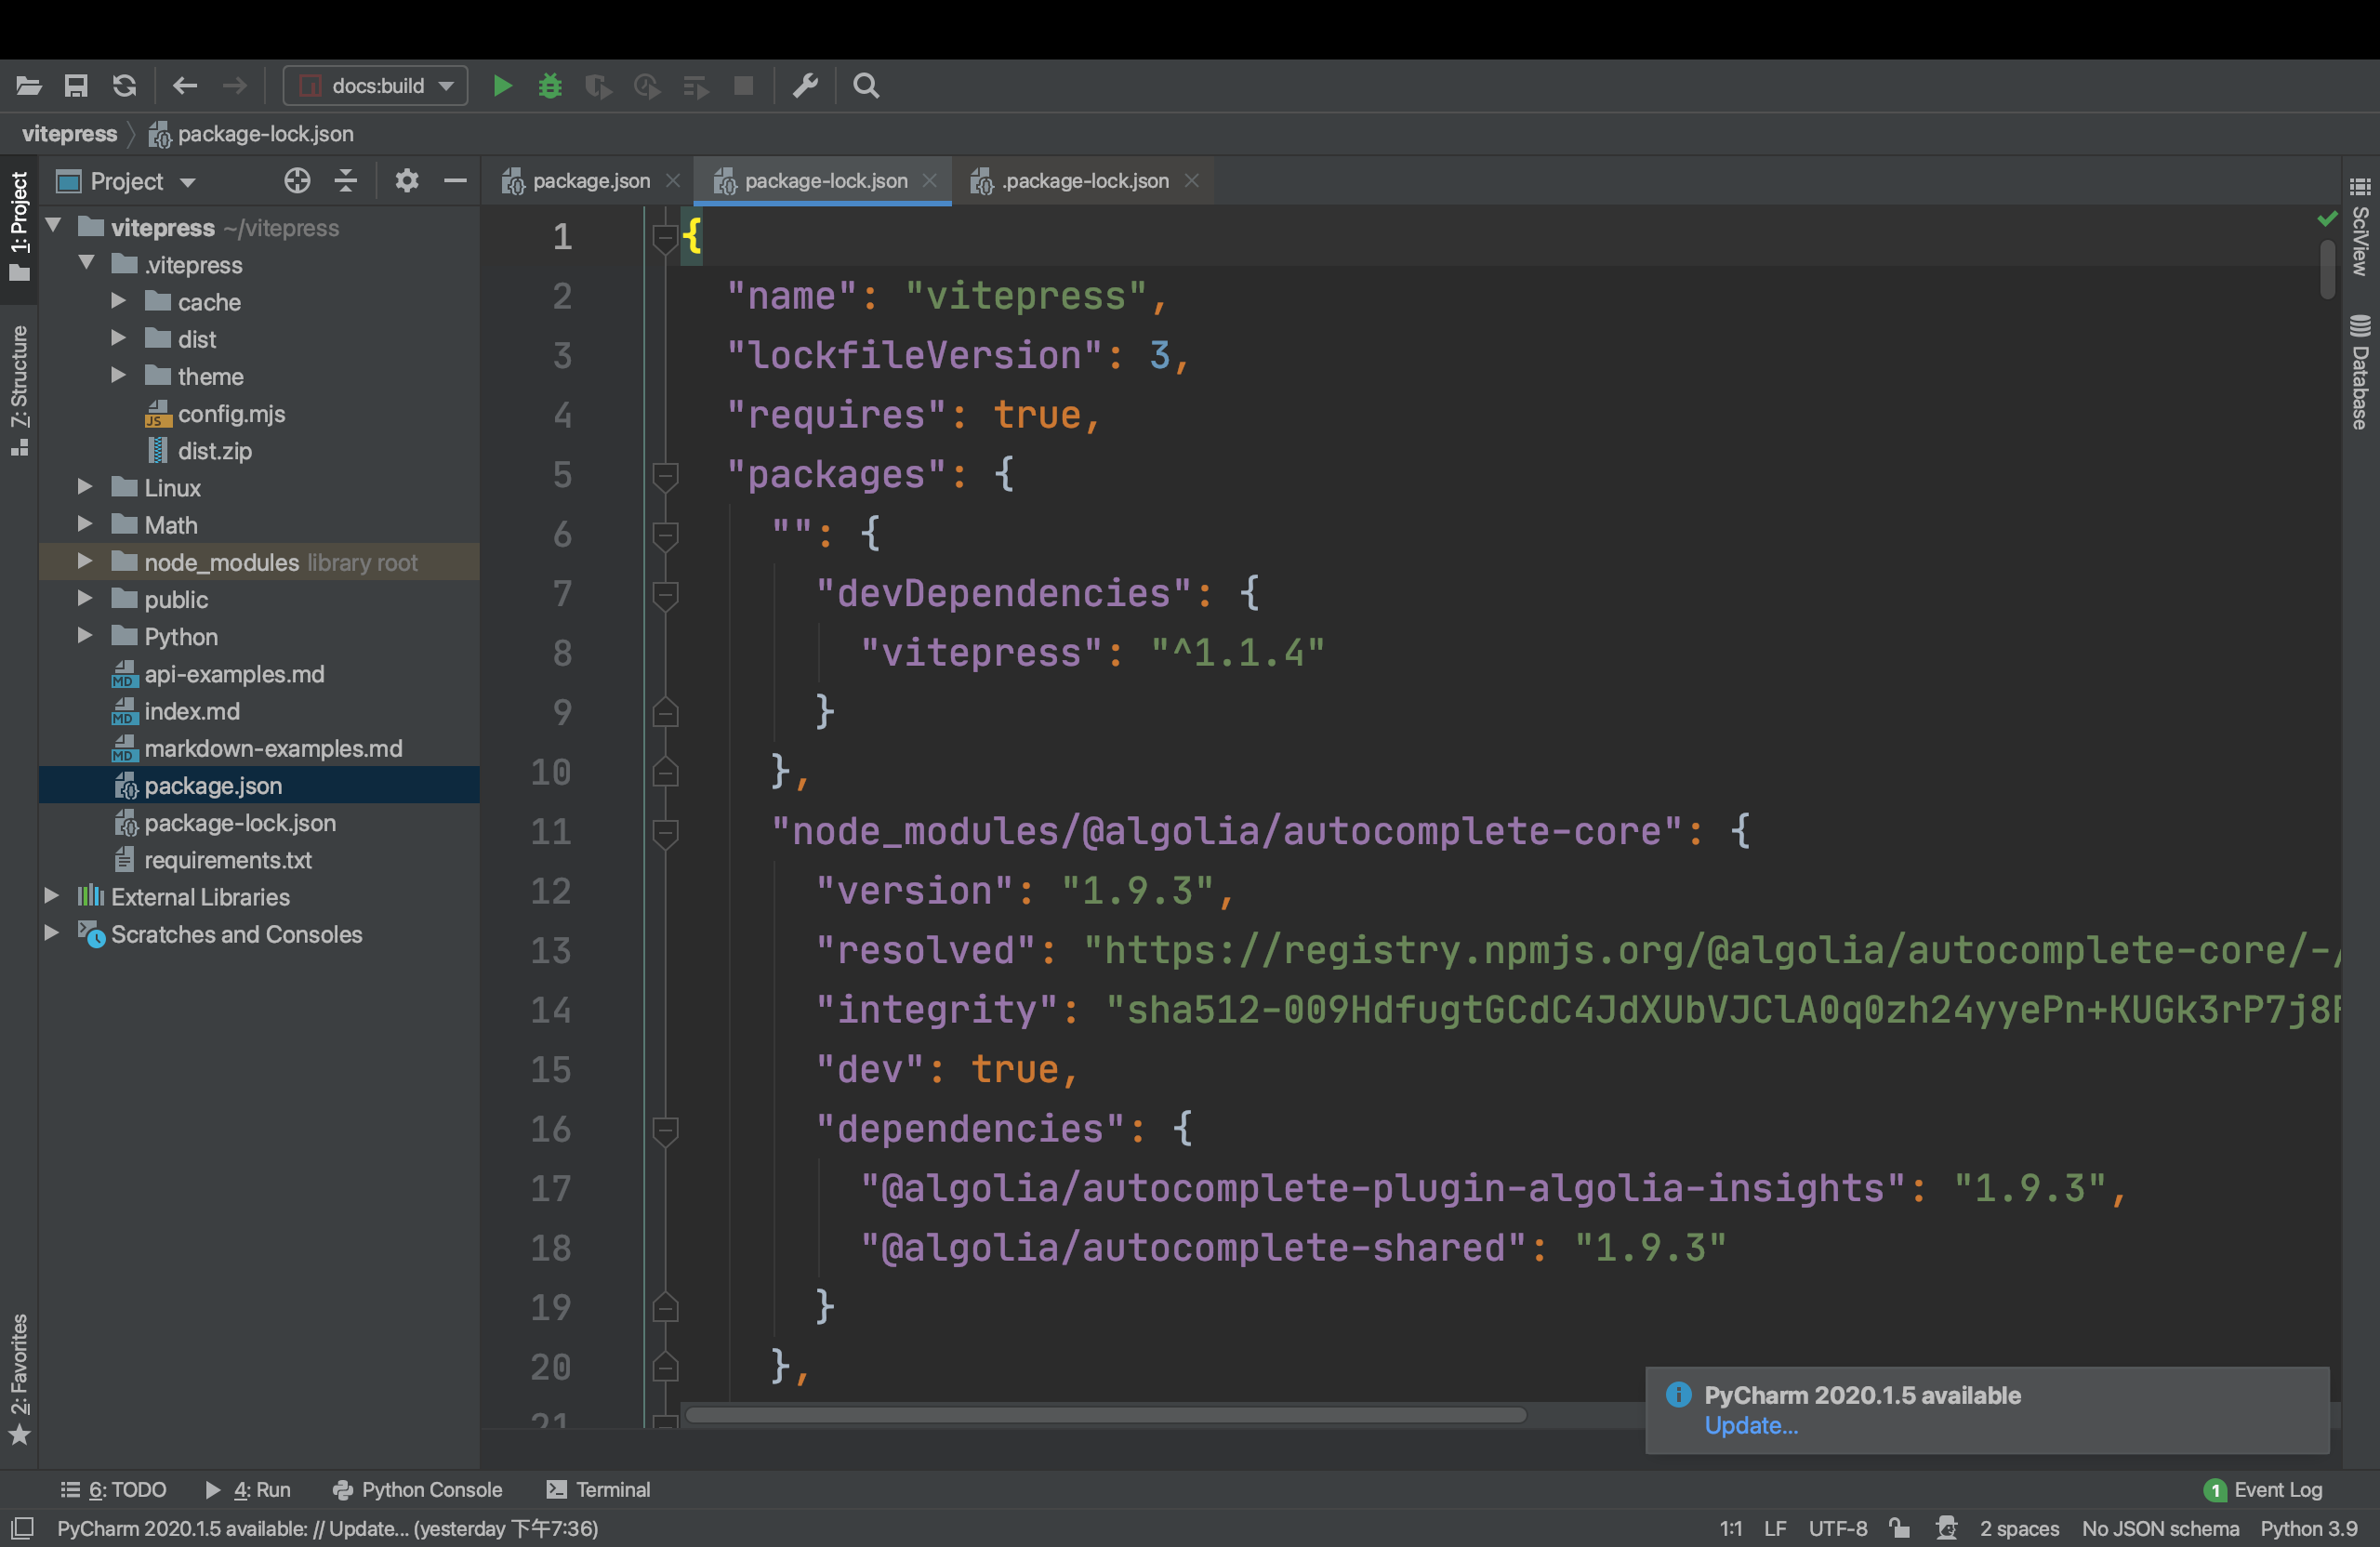
前端vue项目的依赖列表在package.json里
- package.json
- package-lock.json
3.云服务器控制台:放开云服务器的安全组
放开所有端口,部署完了再关上
4. 线上:关闭防火墙
bash
systemctl stop firewalld.service
systemctl disable firewalld.service
systemctl status firewalld.service
sed -i.ori 's#SELINUX=enforcing#SELINUX=disabled#g' /etc/selinux/config
yum update -y
yum -y install gcc automake autoconf libtool make
yum -y install net-tools
yum -y install vim
yum -y install wget
yum install lrzsz


# ........解释........
# 查看防火墙状态
systemctl status firewalld.service
# 关闭防火墙
systemctl stop firewalld.service
# 禁止开机启动防火墙
systemctl disable firewalld.service
# 启动防火墙
systemctl start firewalld.service
# 防火墙随系统开启启动
systemctl enable firewalld.service
# 关闭selinux,提高了系统的安全性,但关闭它可以释放系统资源,提高服务器的性能,避免一些程序的兼容性问题等等
[root@r ~]# sed -i.ori 's#SELINUX=enforcing#SELINUX=disabled#g' /etc/selinux/config
5.线上:Python3.9.9解释器安装
bash
yum install -y epel-release
yum update -y
yum install gcc patch libffi-devel python-devel  zlib-devel bzip2-devel openssl-devel ncurses-devel sqlite-devel readline-devel tk-devel gdbm-devel db4-devel libpcap-devel xz-devel -y


cd /opt/
wget https://cdn.npmmirror.com/binaries/python/3.9.9/Python-3.9.9.tgz
tar -zxvf Python-3.9.9.tgz
cd /opt/Python-3.9.9
./configure --prefix=/opt/python399/  && make && make install
配置环境变量
bash
echo "export PATH=/opt/python399/bin:\$PATH" >> /etc/profile
cat /etc/profile
source /etc/profile

# 添加软连接
ln -s /opt/python399/bin/python3.9 /usr/bin/python3.9
ln -s /opt/python399/bin/pip3.9 /usr/bin/pip3.9
测试一下
bash
[root@cs opt]# python3.9 -V
Python 3.9.9
[root@cs opt]# pip3.9 -V
pip 21.2.4 from /opt/python399/lib/python3.9/site-packages/pip (python 3.9)
6.线上:nginx安装
安装依赖
bash
yum update -y
yum -y install gcc gcc-c++ pcre pcre-devel  zlib zlib-devel openssl openssl-devel libxml2-devel libxslt-devel gd-devel GeoIP-devel jemalloc-devel libatomic_ops-devel perl-devel  perl-ExtUtils-Embed


#安装Nginx需要先将官网下载的源码进行编译,依赖gcc环境

#PCRE是一个perl库,包括perl兼容的正则表达式库。Nginx的http模块使用pcre库来解析正则表达式

#zlib库提供很多种压缩解压缩方式,Nginx使用zlib对http包的内容进行gzip

#OpenSSL是一个强大的安全套接字层密码库,囊括主要的密码算法、常用的秘钥和证书封装管理功能及
# SSL协议,并提供丰富的应用程序供测试或其它目的使用。Nginx不仅支持http协议,还支持HTTPS协议
# (即在SSL协议上传输http)。
下载Nginx
链接:https://nginx.org/en/download.html
bash
cd /opt
wget https://nginx.org/download/nginx-1.24.0.tar.gz
ls

[root@cs opt]# ls
nginx-1.24.0.tar.gz
解压
bash
cd /opt
tar -zxvf nginx-1.24.0.tar.gz
编译所有的功能模块,并且指定安装目录:
bash
cd /opt
mkdir nginx
cd /opt/nginx-1.24.0
./configure --prefix=/opt/nginx \
    --with-threads \
    --with-file-aio \
    --with-http_ssl_module \
    --with-http_v2_module \
    --with-http_realip_module \
    --with-http_addition_module \
    --with-http_xslt_module=dynamic \
    --with-http_image_filter_module=dynamic \
    --with-http_geoip_module=dynamic \
    --with-http_sub_module \
    --with-http_dav_module \
    --with-http_flv_module \
    --with-http_mp4_module \
    --with-http_gunzip_module \
    --with-http_gzip_static_module \
    --with-http_auth_request_module \
    --with-http_random_index_module \
    --with-http_secure_link_module \
    --with-http_degradation_module \
    --with-http_slice_module \
    --with-http_stub_status_module \
    --with-stream=dynamic \
    --with-stream_ssl_module \
    --with-stream_realip_module \
    --with-stream_geoip_module=dynamic \
    --with-stream_ssl_preread_module \
    --with-compat  \
    --with-pcre-jit
没报错会显示:
bash
Configuration summary
  + using threads
  + using system PCRE library
  + using system OpenSSL library
  + using system zlib library

  nginx path prefix: "/opt/nginx"
  nginx binary file: "/opt/nginx/sbin/nginx"
  nginx modules path: "/opt/nginx/modules"
  nginx configuration prefix: "/opt/nginx/conf"
  nginx configuration file: "/opt/nginx/conf/nginx.conf"
  nginx pid file: "/opt/nginx/logs/nginx.pid"
  nginx error log file: "/opt/nginx/logs/error.log"
  nginx http access log file: "/opt/nginx/logs/access.log"
  nginx http client request body temporary files: "client_body_temp"
  nginx http proxy temporary files: "proxy_temp"
  nginx http fastcgi temporary files: "fastcgi_temp"
  nginx http uwsgi temporary files: "uwsgi_temp"
  nginx http scgi temporary files: "scgi_temp"
编译安装
bash
cd /opt/nginx-1.24.0
make -j$(nproc) && make install -j$(nproc)
看下安装目录
bash
cd /opt/nginx
ls

[root@cs nginx]# ls
client_body_temp  fastcgi_temp  logs     proxy_temp  scgi_temp
conf              html          modules  sbin        uwsgi_temp
在nginx的安装目录中:
- conf:存放nginx配置文件目录
- logs:存放nginx日志目录
- sbin:存放nginx可执行脚本目录
- html:存放nginx的网站站点,静态资源的目录
启动nginx
bash
cd /opt/nginx/sbin
./nginx
ps -ef|grep nginx
[root@cs sbin]# ps -ef|grep nginx
root 39441 1 0 22:37 ? 00:00:00 nginx: master process ./nginx
nobody 39442 39441 0 22:37 ? 00:00:00 nginx: worker process
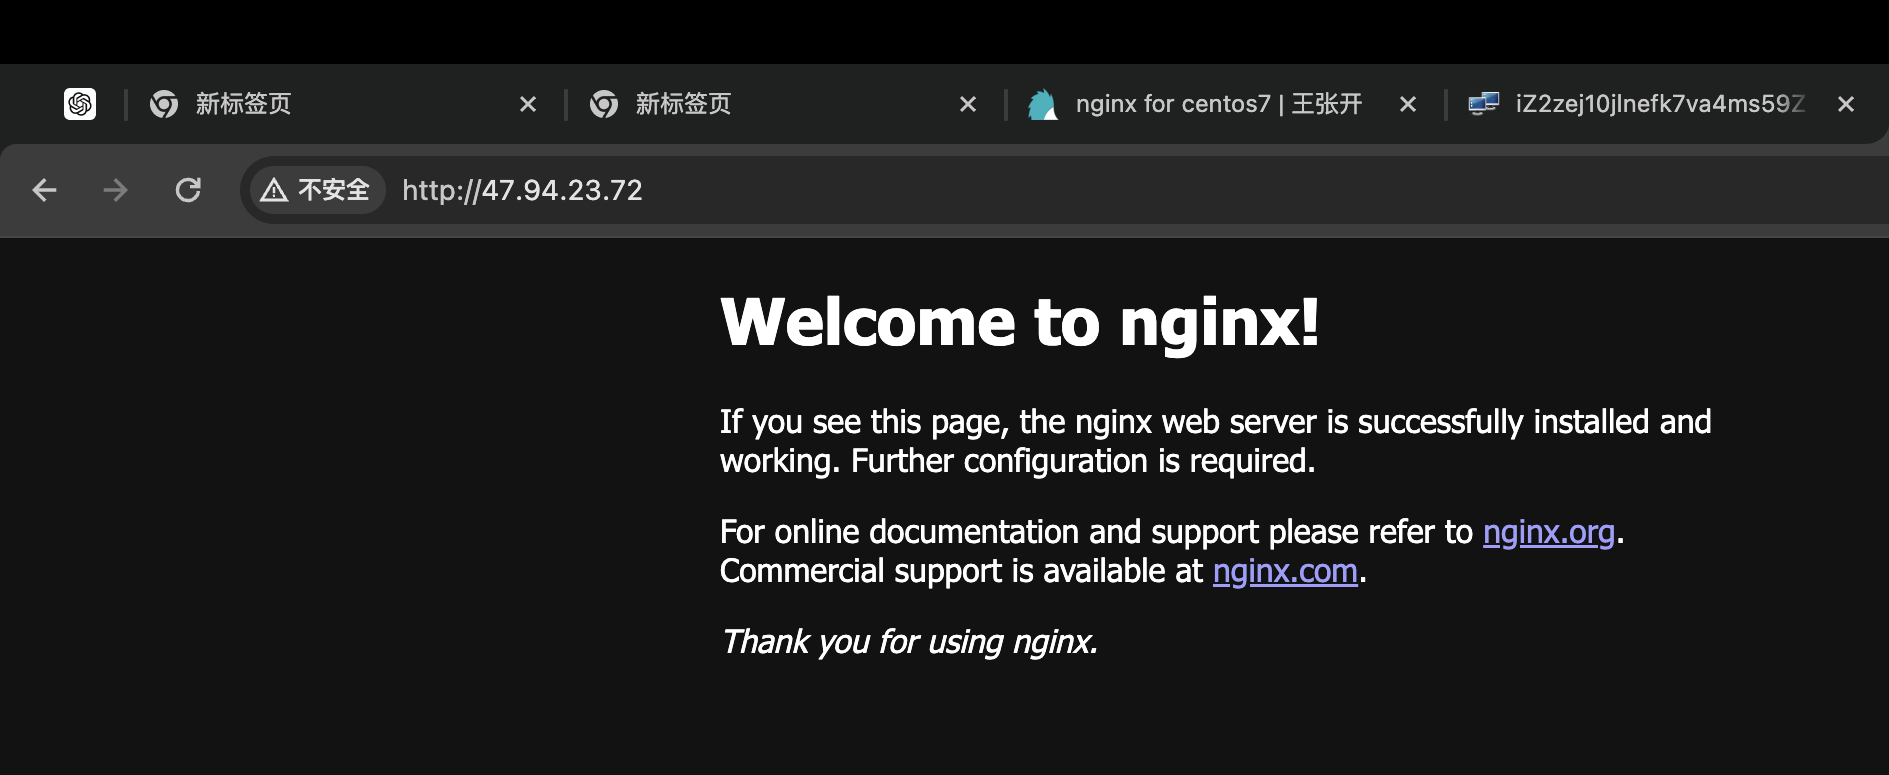
root 39444 73894 0 22:37 pts/1 00:00:00 grep --color=auto nginx访问公网ip,看到下面的图就成功了
- 我的ip:47.94.23.72
如果想要在任意目录输入nginx即可启动,那还需要配置nginx的环境变量。
配置nginx环境变量
bash
echo "export PATH=/opt/nginx/sbin:\$PATH" >> /etc/profile
cat /etc/profile
source /etc/profile
配置systemctl管理nginx
bash
cat >/lib/systemd/system/nginx.service<<EOF
[Unit]
Description=nginx
After=network.target

[Service]
Type=forking
ExecStartPre=/opt/nginx/sbin/nginx -t -c /opt/nginx/conf/nginx.conf
ExecStart=/opt/nginx/sbin/nginx -c /opt/nginx/conf/nginx.conf
ExecReload=/opt/nginx/sbin/nginx -s reload
ExecStop=/opt/nginx/sbin/nginx -s stop
PrivateTmp=true
[Install]
WantedBy=multi-user.target
EOF
cat /lib/systemd/system/nginx.service
systemctl daemon-reload
解释
bash
cat >/lib/systemd/system/nginx.service<<EOF
[Unit]     # 记录service文件的通用信息
Description=nginx    # Nginx服务描述信息
After=network.target    # Nginx服务启动依赖,在指定服务之后启动
[Service]    # 记录service文件的service信息
Type=forking    # 标准UNIX Daemon使用的启动方式
ExecStartPre=/opt/nginx/sbin/nginx -t -c /opt/nginx/conf/nginx.conf
ExecStart=/opt/nginx/sbin/nginx -c /opt/nginx/conf/nginx.conf
ExecReload=/opt/nginx/sbin/nginx -s reload
ExecStop=/opt/nginx/sbin/nginx -s stop
PrivateTmp=true
[Install]    # 记录service文件的安装信息
WantedBy=multi-user.target    # 多用户环境下启用
EOF
cat /lib/systemd/system/nginx.service
Nginx启动方式
nginx命令启动
bash# 直接输入nginx来启动,但只能首次启动nginx使用,因为重复启动的话,会提示80端口已被占用 nginx # 查看nginx相关进程 ps -ef | grep nginx # 查看NGINX监听的端口 netstat -tunlp | grep nginx # 平滑重启nginx,也就是重新读取nginx的配置文件,而不是重启进程 nginx -s reload # 确认nginx配置文件是否争取的 nginx -t # 停止nginx, 杀死nginx进程 nginx -s stopSystemctl 启动nginx
bashpkill nginx systemctl daemon-reload #启动nginx systemctl start nginx #查看nginx状态 systemctl status nginx #停止nginx服务 systemctl stop nginx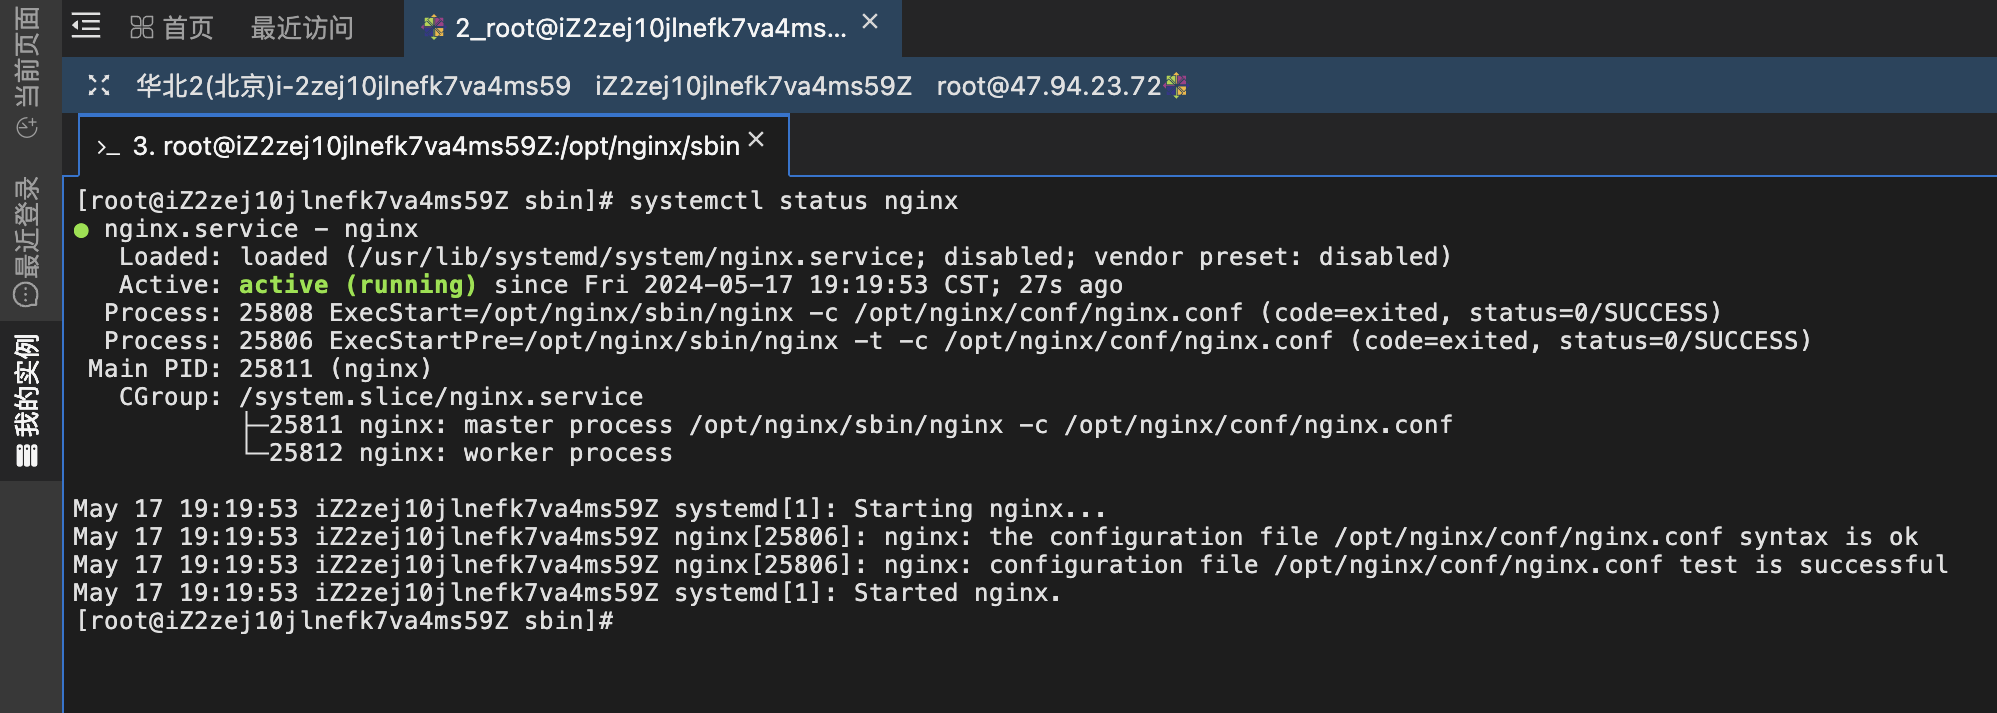
7. 线上:本地项目上传到云服务器
bash
# 所有项目部署相关的东西都在/hongBrain 目录内,而软件都安装到了/opt目录内

mkdir -p /hongBrain
mkdir -p /hongBrain/allstatic
mkdir -p /hongBrain/script
mkdir -p /hongBrain/logs
cd /hongBrain
压缩编译后的项目文件dist
bash
cd /Users/minghongsun/vitepress/.vitepress
zip -r dist.zip dist


cd /Users/minghongsun/Downloads/同步空间/外接大脑/.vitepress
zip -r dist.zip dist
本地相关压缩包上传到云服务器
sftp命令上传/下载
bash
# 在终端上远程连接云服务器ECS。
sftp root@47.94.23.72

## 上传文件/文件夹到云服务器ECS
put -r 本地主机文件/文件夹的绝对路径 云服务器文件保存根目录
put -r /Users/minghongsun/Downloads/同步空间/外接大脑/.vitepress/dist.zip  /hongBrain/


# 下载文件/文件夹到本地主机
get -r 云服务器文件/文件夹的绝对路径 本地主机文件保存根目录
get -r  /hongBrain/  /Users/minghongsun/
scp命令上传下载
bash
# 上传本地文件/文件夹到云服务器
scp -r 本地文件/文件夹的绝对路径 云服务器用户名@云服务器实例公网IP地址:云服务器文件保存根目录
scp -r /Users/minghongsun/vitepress/.vitepress/dist.zip root@47.94.23.72:/hongBrain/

scp -r /Users/minghongsun/Downloads/同步空间/外接大脑/.vitepress/dist.zip root@47.94.23.72:/hongBrain/


#下载文件/文件夹到本地主机
scp -r 云服务器用户名@云服务器实例公网IP地址:云服务器文件/文件夹的绝对路径 本地主机文件保存根目录
scp -r  root@47.94.23.72:/hongBrain/  /Users/minghongsun/
解压缩
bash
unzip dist.zip8.修改nginx配置文件
https://www.neeo.cc/linux/nginx/多虚拟主机配置.html 菩提老开笔记
可以在任意目录下创建conf.d目录,为了方便记忆,把它创建在了安装目录的conf目录内:
bash
mkdir -p /opt/nginx/conf/conf.d
chmod -R 777 /opt/nginx/conf/conf.d
在nginx的默认配置文件中:
bash
vim /opt/nginx/conf/nginx.conf

# 在http代码块中添加
http {
	include /opt/nginx/conf/conf.d/*.conf;
}
在conf.d里面创建dahong.conf
bash
cat >/opt/nginx/conf/conf.d/dahong.conf<<EOF
server {
    listen 80;
    server_name localhost;     # 域名配置在这里
    gzip on;
    gzip_static on;
    gzip_min_length 1k;
    gzip_vary on;
    gzip_proxied any;
    gzip_comp_level 2;
    gzip_buffers 4 16k;
    gzip_http_version 1.1;
    gzip_disable "MSIE [1-6]\.";
    gzip_types text/plain text/css application/json application/javascript text/xml application/xml application/xml+rss text/javascript image/jpeg image/gif image/png image/svg+xml;
    add_header Cache-Control "max-age=31536000,immutable";
    location / {
        try_files  \$uri \$uri/ @rewrites;
        root  /data/blogs/dist;     # 配置文件位置
        index index.html;
        autoindex on;
    }
    location @rewrites {
        rewrite ^.*$ /index.html last;
    }
}
EOF
重启nginx,重新读配置文件
bash
nginx -s reload访问ip即可